
Porting hierarchical 3D models from Unity to PlayCanvas as easily as possible.
2022年2月1日(火) 1時39分28秒 | 109 view |


This is an English translation of an article here.なるべく楽にUnityからPlayCanvasへヒエラルキーごと3Dモデルを移植する | EMC2NARY
前提Unityから3Dモデルデータをそのまま移植したい方向けです。最終的にはヒエラルキーの階層構造のまま移植可能ですが、スクリプトやライト、パーティクルなど、モデルデータ以外のゲームオブジェクトはこ....
utautattaro.blog
Translated with www.DeepL.com/Translator
I found a good way to port models from Unity to PlayCanvas by hierarchy, so I'll write about it.
premise
This is for those who want to port 3D model data directly from Unity.
In the end, the hierarchical structure can be ported, but game objects other than model data, such as scripts, lights, and particles, cannot be ported in this way.
Also, materials are imported in their raw state, so a little more effort is needed to get the texture exactly the same as in Unity.
In this case, we'll be porting multiple 3D models purchased from the Unity Asset Store and their well-arranged scene assets, along with the hierarchy shown in the scene.
The final result will look like this
Unity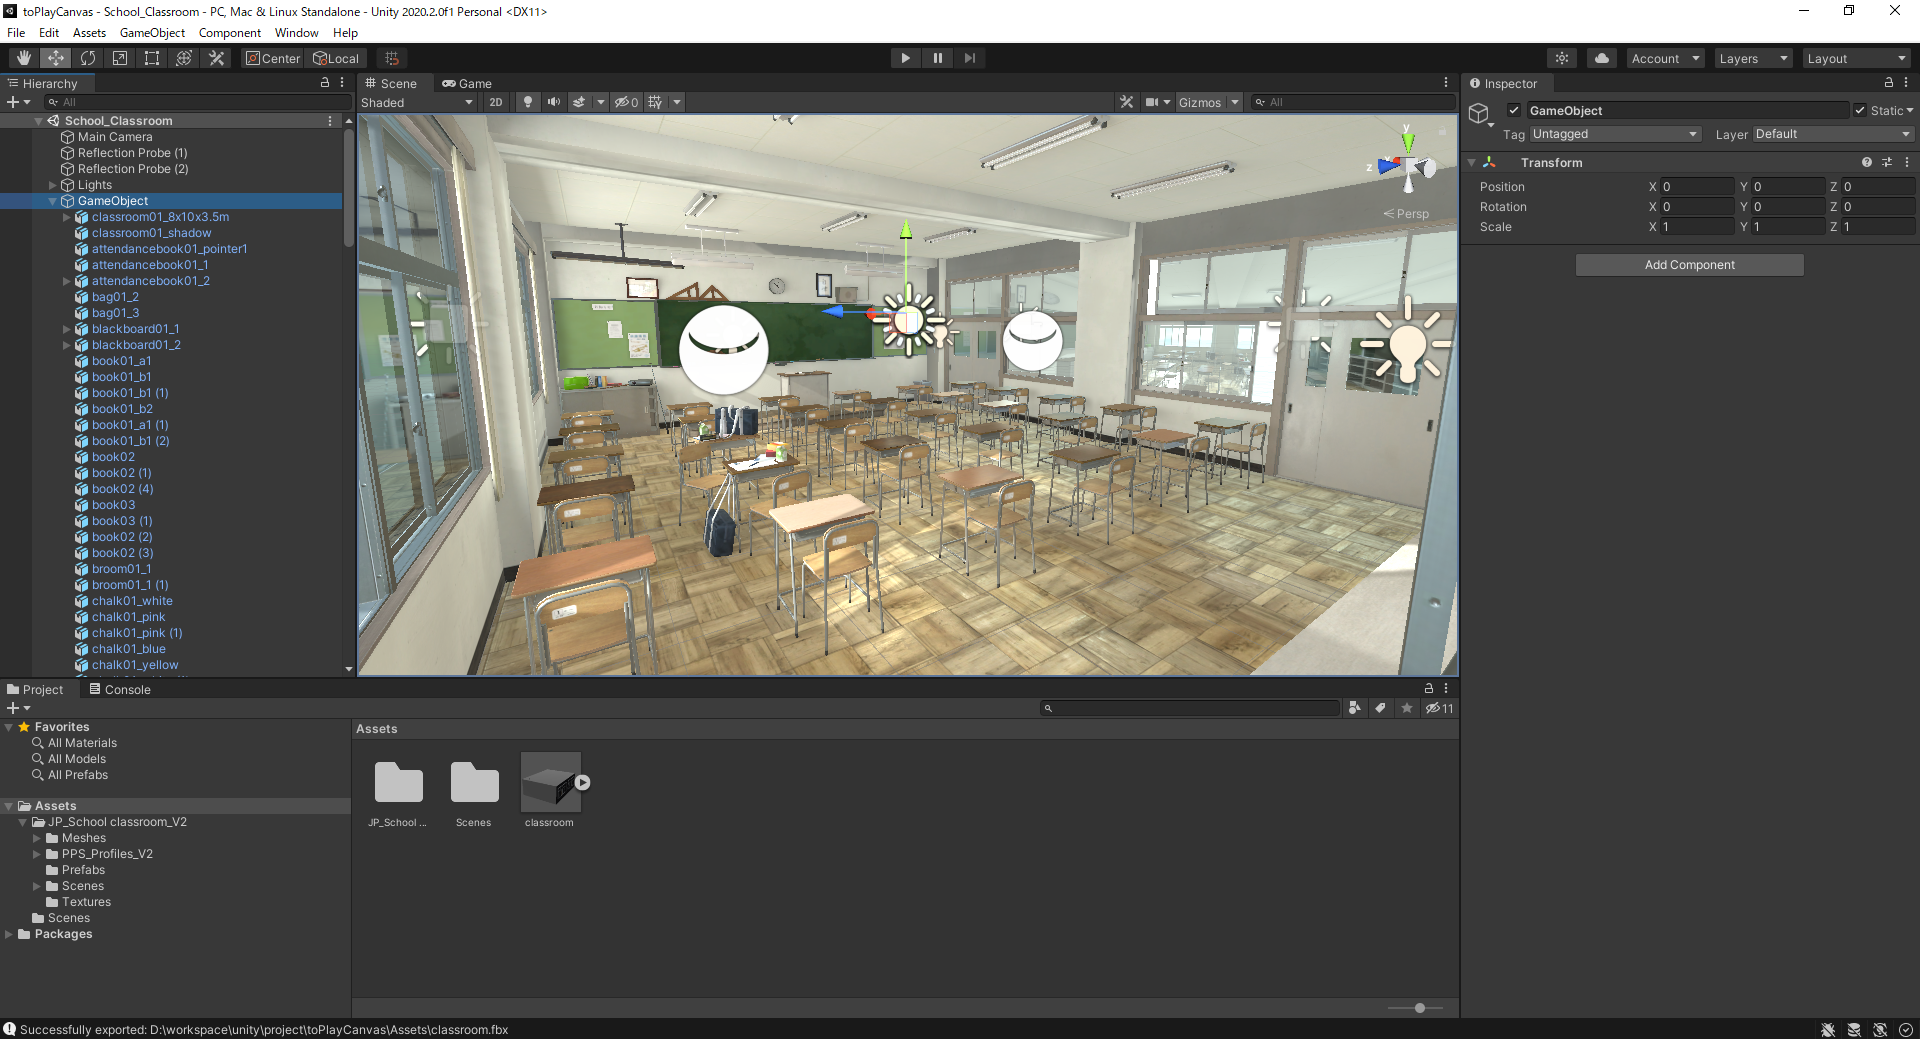
PlayCanvas
So let's do it.
Note
Unity has updated its EULA on April 13, 2020 to allow products deployed in the Unity Asset Store to eventually be used outside of Unity
https://assetstore.info/notice/eulainterpretation20200413/
However, this does not apply to all assets, but only those that are in the "License Standard Unity Asset Store EULA".
Work on the Unity side
There are three major steps that need to be taken: building the environment that you want to port to Unity, installing the FBX exporter, and converting to FBX.
Building the environment to be ported
The first step is to build the environment you want to port to in the Unity scene.
In this case, we will port the following assets purchased from Unity Asset Store

Japanese School Classroom | 3D 環境 | Unity Asset Store
Elevate your workflow with the Japanese School Classroom asset from SbbUtutuya. Find this & other 環境...

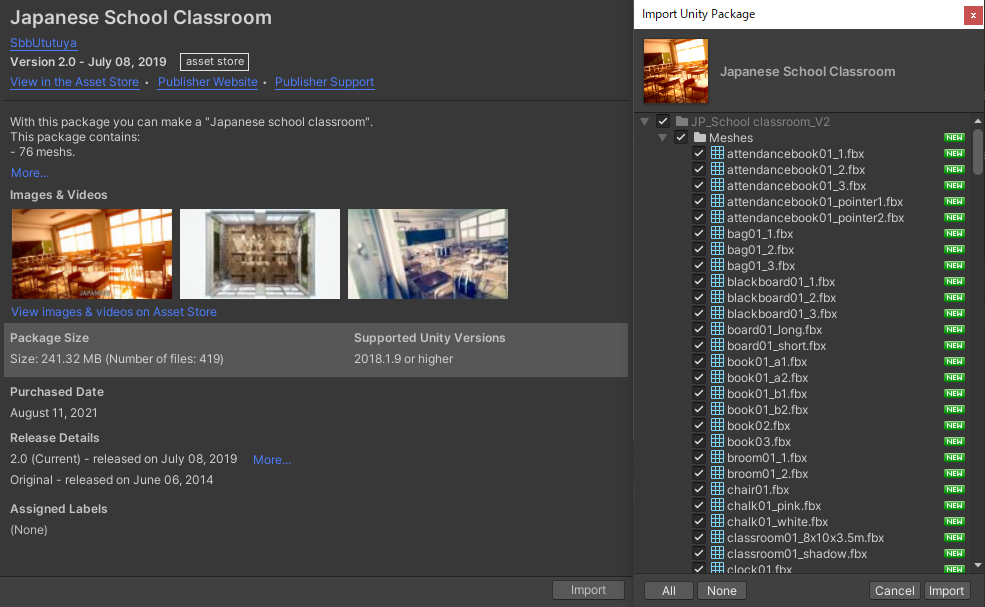
After purchasing the assets from the Asset Store, import them from the Package Manager.
This is how the sample scene looks after importing.
In this example, a game object named GameObject contains all the game objects of the model as child elements.
Make sure that the game objects you want to port are all stored in a single object like this.
Install the FBX exporter
We will convert the game objects to FBX using the FBX Importer from Unity Technologies.
When you are referring to Unity Registry from Package Manager, search for FBX exporter in the search window on the upper right.
You can use the free ones provided by Unity. There are paid ones, but you can use the free ones.
Convert to FBX
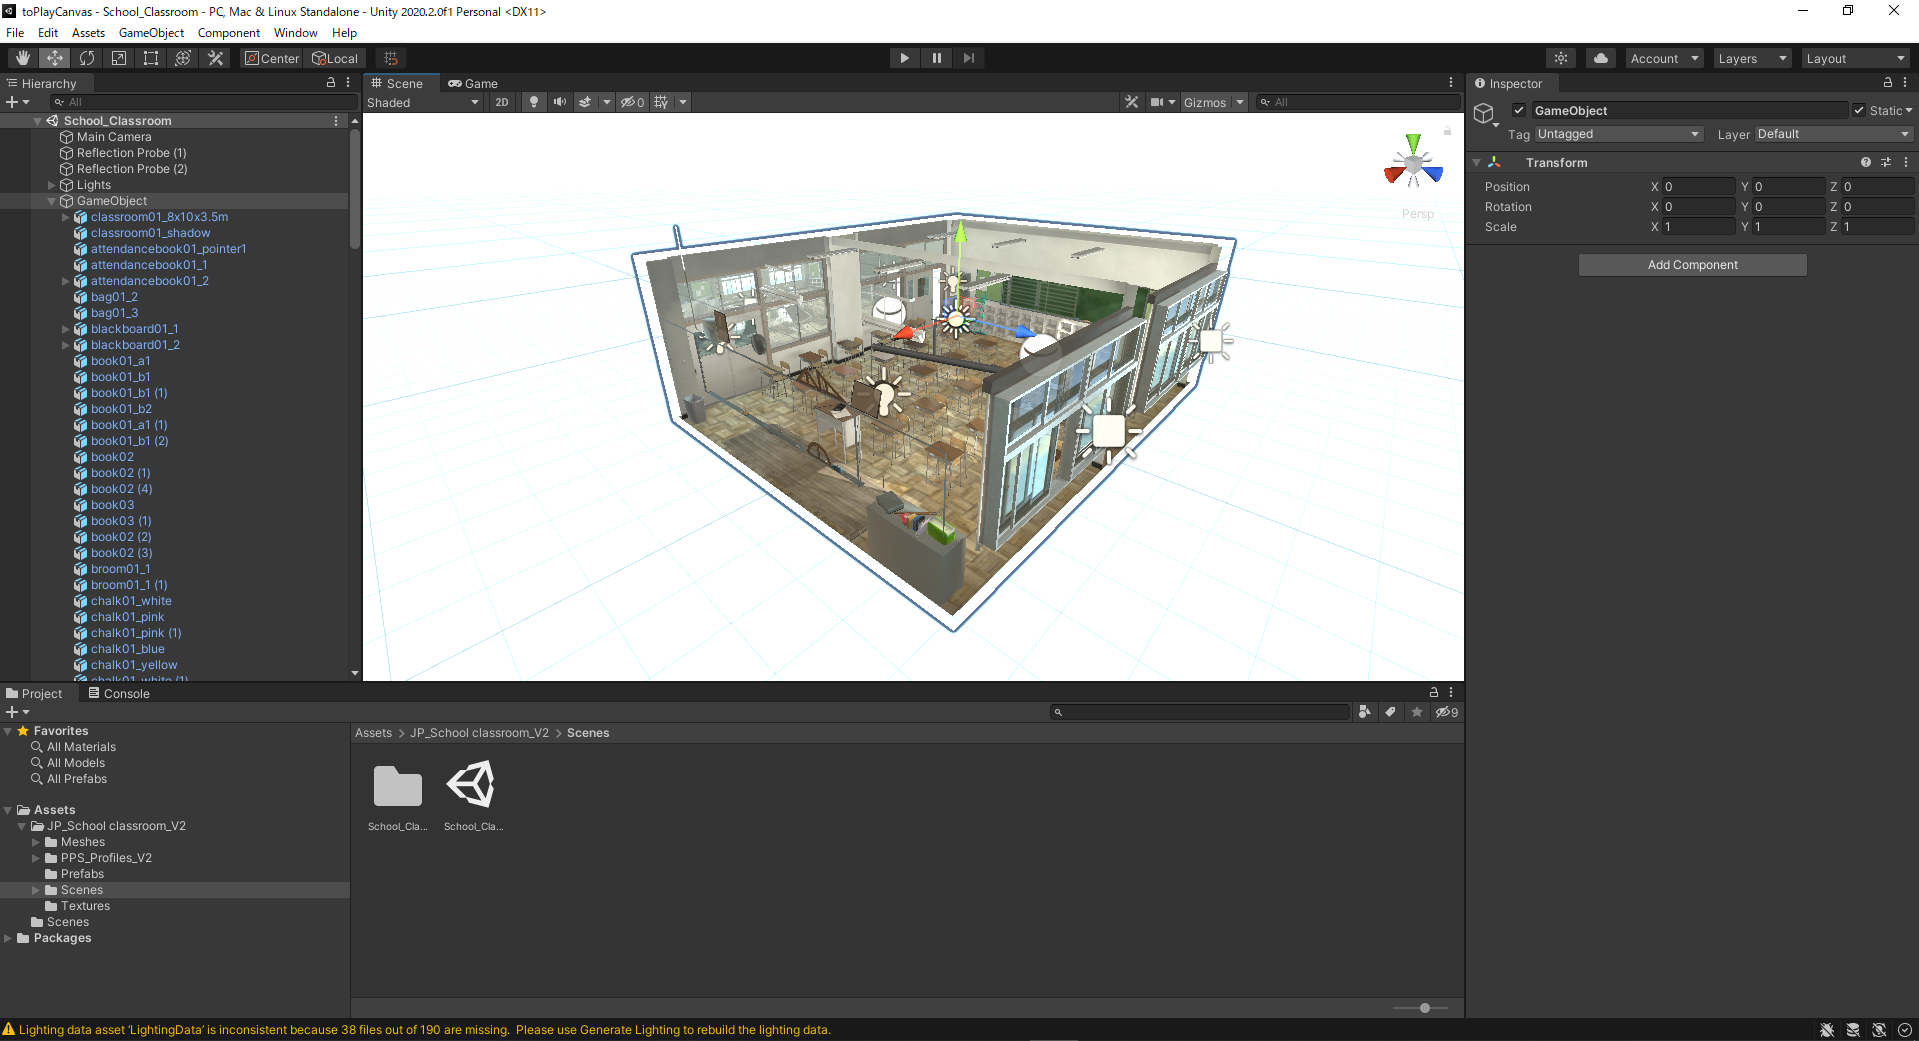
If you have the FBX exporter installed, you can convert the game objects in the hierarchy to FBX.
Right-click on the game object you want to port and click Export to FBX.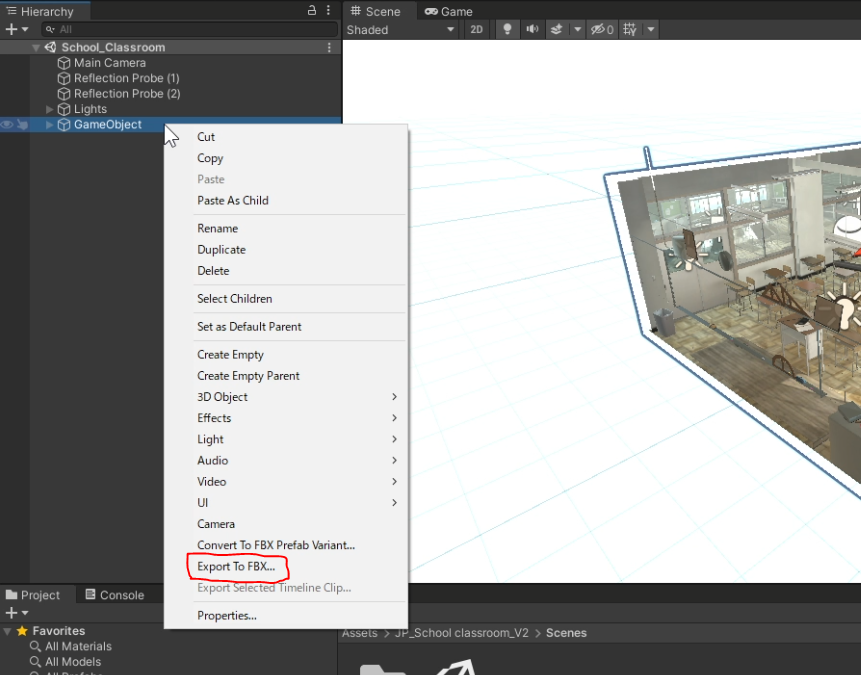
When you click on it, you will be asked for the export options, but you don't need to change anything.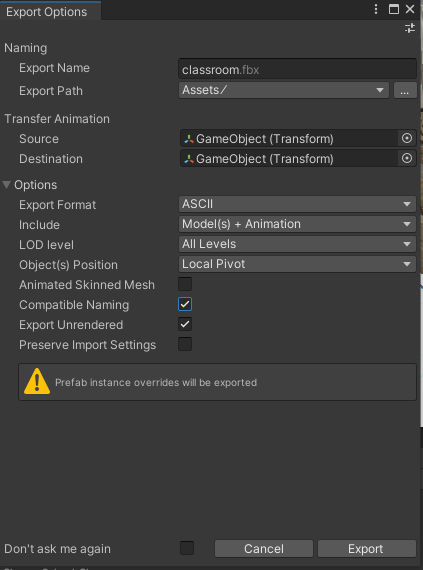
After you click Export, the process will run, and if it finishes successfully, the FBX model will be created under Assets.
This is the end of the work on the Unity side.
Work on the PlayCanvas side
There are three main steps: changing the editor settings, uploading, and setting up the material.
Changing the editor settings
Change the imported model so that it is displayed in a hierarchical structure.
Click the "Settings" button on the bottom left corner of the screen, and check the "ASSET TASKS -> Model Import Settings -> Import Hierarchy" checkbox.
Uploading
Upload the generated FBX by dragging and dropping it into the Assets section of PlayCanvas.
After the upload is complete, a large number of materials and render assets will be generated.
In this state, the texture is not included, so upload the texture separately.
This is what it will look like when the textures have been uploaded.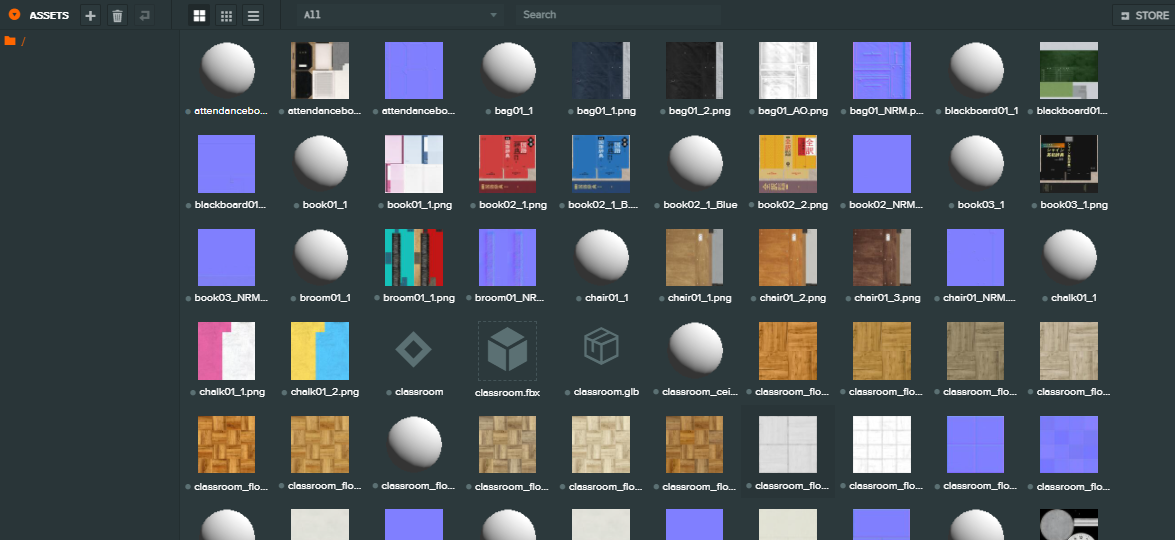
Uploading is now complete.
Setting up materials
First of all, since all images are uploaded as raw data and are heavy, we will apply BASIS compression to all of them.
Select Texture from Assets to display all textures.
Select all textures while holding down the SHIFT key.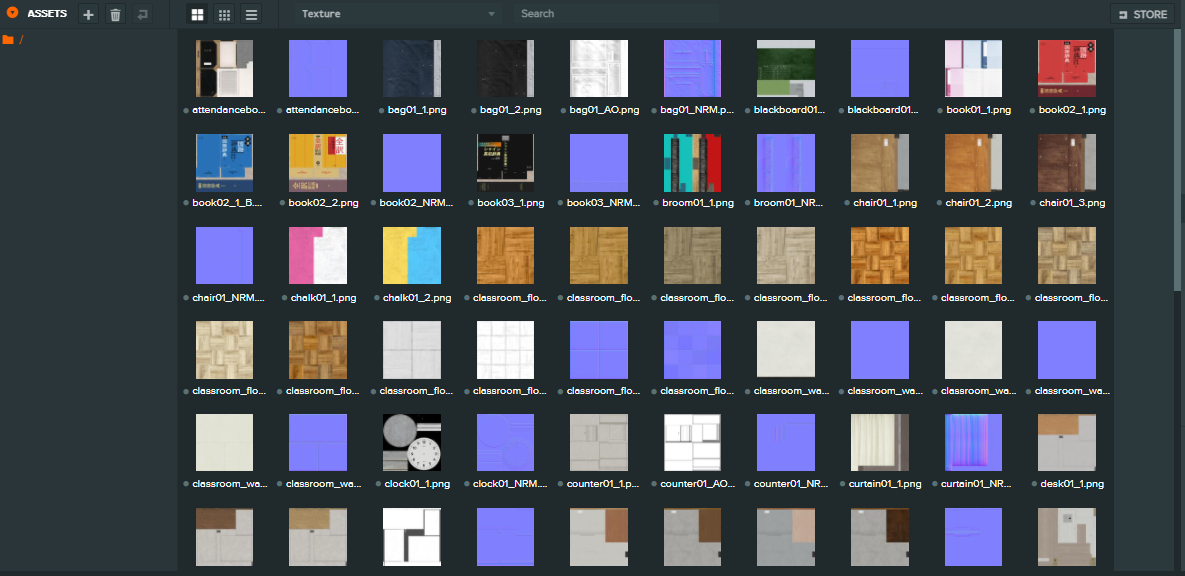
Check the COMPRESSION -> BASIS checkbox at the bottom of the hierarchy on the right, and press IMPORT BASIS and COMPRESS BASIS.
The compression process will run, and when all progress bars disappear, BASIS compression is complete.
Next, let's display the model data.
You will see an asset with a diamond-shaped icon in the Asset section. This is the model data that has been templated.
Delete the hierarchy Box and Plane, and drag and drop the uploaded model data into the scene to display it.
The model will be displayed in a gray state as shown below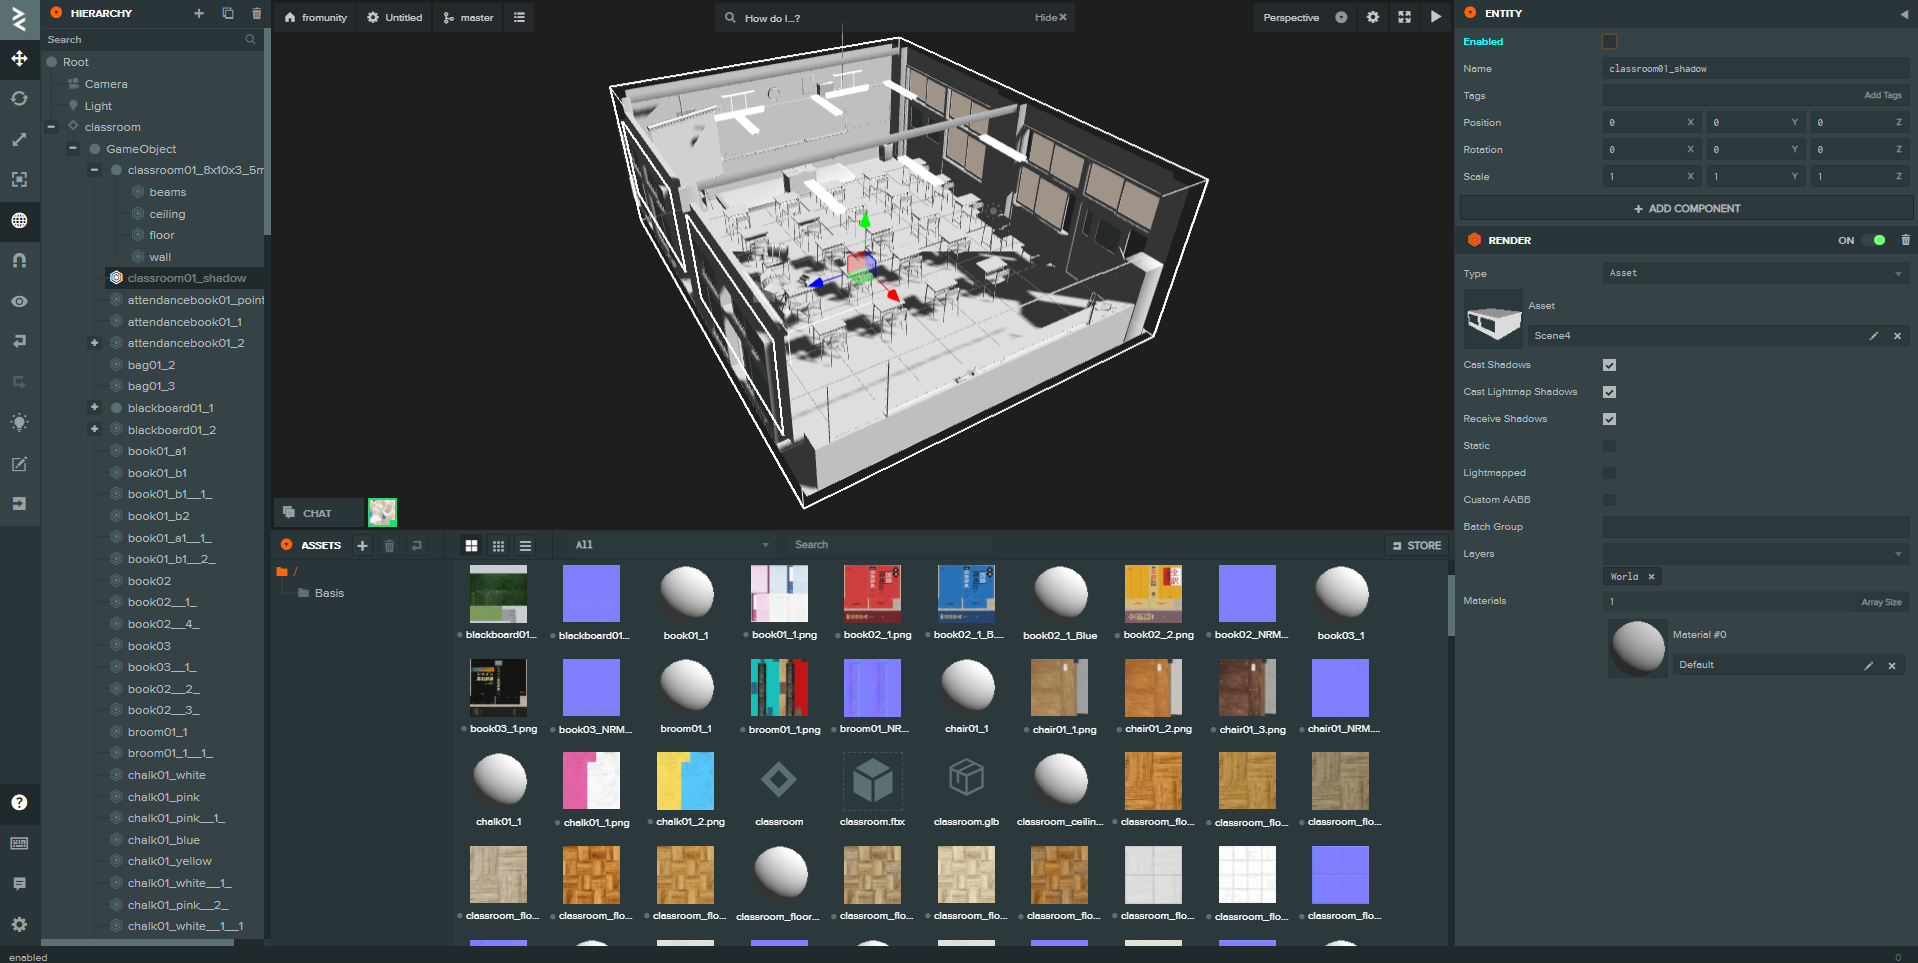
The material is gray because it has not been set.
Next, we will apply a texture to the material.
We will apply the uploaded texture to the analyzed material.
It is recommended that you check the materials of the original model in Unity when designing the materials.
This is what it will look like when the material settings are complete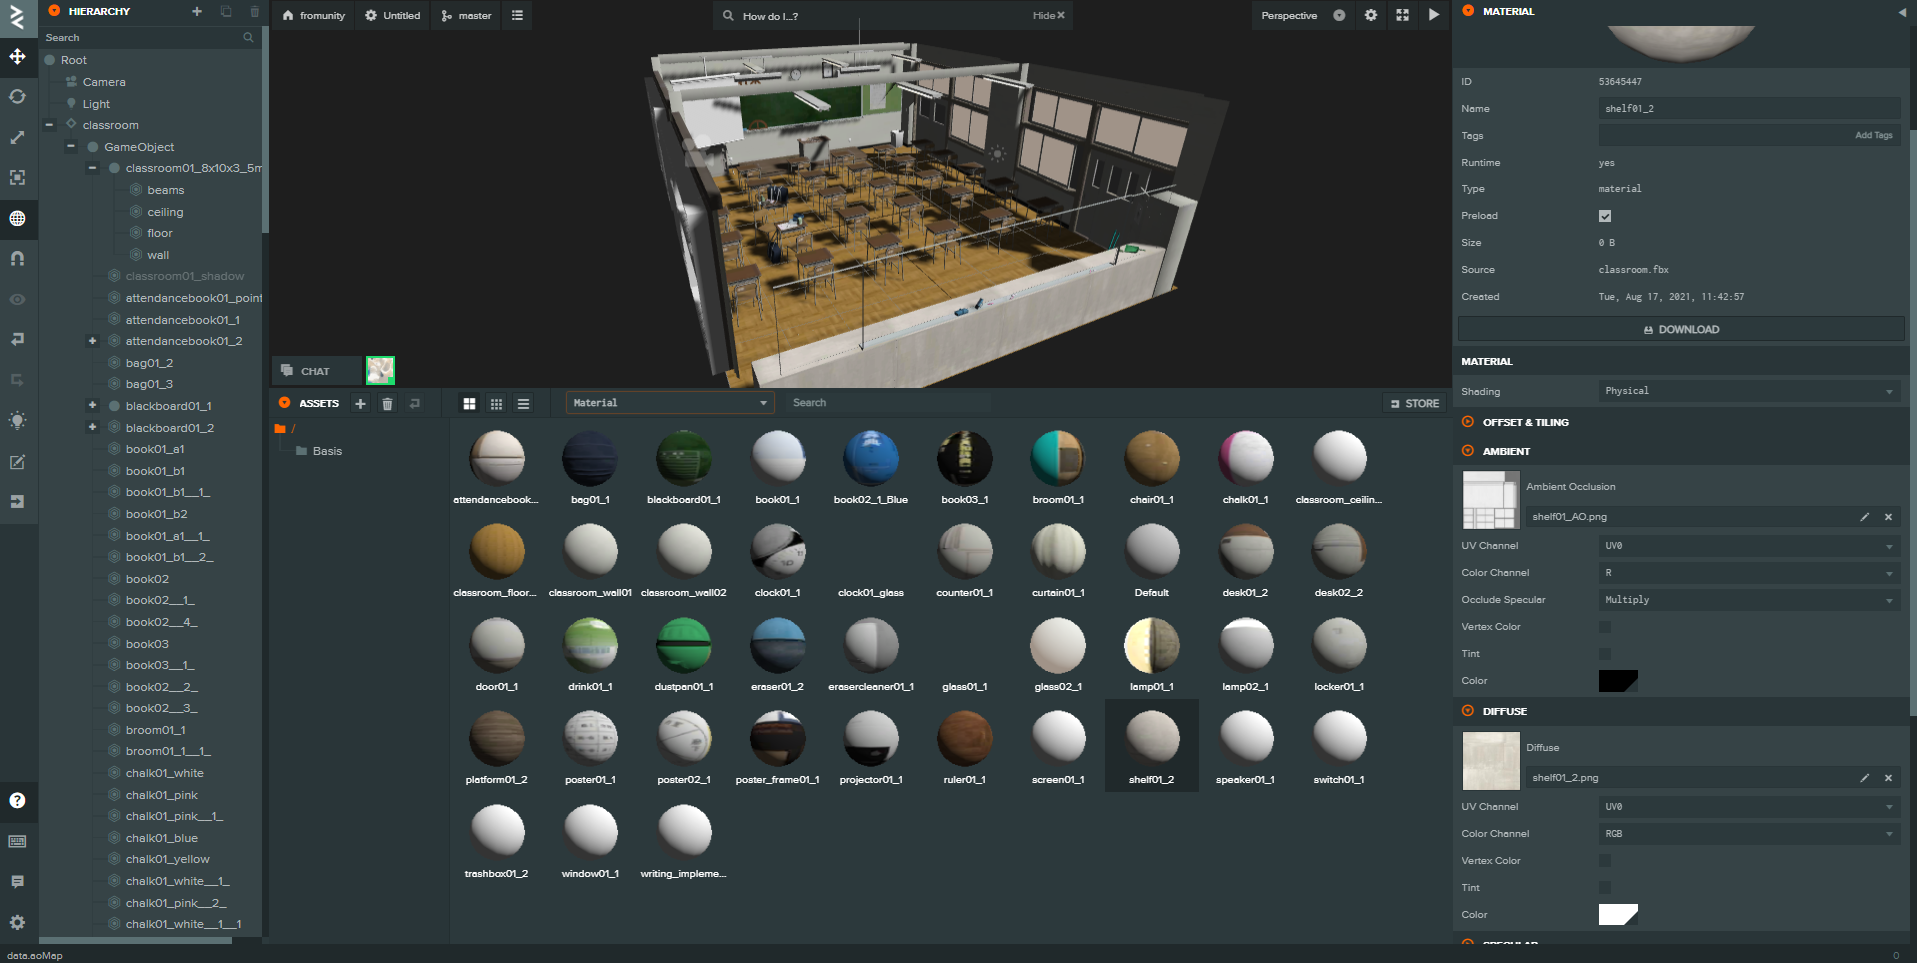
After that, we can add skybox settings and light settings to enhance the expression.
関連する投稿
なるべく楽にUnityからPlayCanvasへヒエラルキーごと3Dモデルを移植する
2021年8月17日(火) 2時29分33秒 | 599 view3D Gaussian Splatting で遊んでみる
2023年10月18日(水) 14時5分18秒 | 454 viewPlayCanvas Editor APIで面倒な作業を自動化する
2022年4月18日(月) 6時39分30秒 | 194 viewグリグリリック 開発秘話
2020年12月8日(火) 4時30分37秒 | 183 view8時間ゲームジャム
2020年10月26日(月) 11時45分38秒 | 20 view Ryotaro Tsuda @utautattaro
3D系Webデベロッパー。
エンジニアリングよりもデベロップメントやアートに興味があります。技術の根幹やコアも重要ですが、それで何を実現/表現するか?を考えていることの方が多いです。


